Thursday, January 17, 2013

Fun Free Photo Effects From Ribbet

One of my favorite things to come out of blogging has been that I've learned more about taking and editing pictures.  I'm still not a wiz on Photo Shop or anything, but I have become pretty familiar with some of the on-line editors - and at least I can say I'm better than I once was.  I have a long way to go, but that's part of the fun of this journey.

Today, I thought I'd share a couple of techniques I've figured out that might be fun for you to use in your crafting.  I used the free on-line editor called Ribbet to create these effects, but you could achieve the same results using PicMonkey.  PicMonkey used to be free, but they started charging for several of their features a few weeks ago.  At some point, they all need to make some money, but for now Ribbet is still free - hence I am using it these days.

For these projects, I first downloaded some black and white pictures from The Graphics Fairy onto my computer. I thought this Typography piece was especially pretty.

I changed it to this

by following these few simple steps:

1.  Go to ribbet.com and upload the picture you downloaded from The Graphics Fairy

2.  At the top of the screen you will see a tab that says Edit, and under it a link that says Touch -up.  Click that link.

3.  Go to the frog for Eye Color

4.  On the rainbow, move the little white circle until you find a color you like.  I chose a bright teal. 

5.  Slide the brush size to the largest size and then begin coloring your black and white picture with the big circle.  The black on your picture should turn to the color you selected.

Isn't that fun?  It's like when we used to paint those pictures with plain water and the paint would magically appear.

Here is another example:


For a final fun effect, follow all of the steps above, except for #3.  Instead of Eye Color, choose the Blush frog.  Instead of painting your ink, this will instead paint your background.


Wouldn't this make a cute pillow to print on fabric?

If you have any trouble with this, let me know and I will try to make it more clear.  Otherwise, I hope this gives you some new crafting resources that are completely free.

Thanks for stopping by the tub,

Ellie         

Tuesday, January 15, 2013

Decorating With Used/Thrift Items

In the economic times we live in, it can be very difficult to have much money left over for decorating.  With that extra 2% of taxes newly taken out of our checks (for my US readers), most of us are probably feeling that sting a little more right now. 

While decorating isn't a life or death necessity, I would argue that it is beneficial to have a space on this planet that is relaxing and as pretty, comfortable, and welcoming as we can responsibly make it, for our re-energizing and for blessing others.  Regardless of how much money our family has made at any given time, buying items secondhand has always been my favorite way to  
Make my Home.

  
I like knowing that I'm making something purposeful again and rescuing it from a landfill.  I'm thrilled that secondhand items already come with their scratches and dents - so a few more do not matter.  I love spending time with my dearest friends, sisters, step-mom or hubby to find the amazing treasures that are just waiting to be uncovered.  Mostly, though, I'm thankful that we can use the money we save for more important things like missions, hurricane relief, anti-slavery, activities with our kids, paying off debt, etc., etc.  By the way, as of December, we became debt free with the exception of our mortgage.  No student loans, car debt, credit cards - nothing.  Living with secondhand furnishings to be debt free is  
Absolutely Worth It!

Please don't mistake that secondhand decorating means shabby in a "not-so-shic" way.  It can be very beautiful.  The maid's room I've been sharing over the past couple of posts is decorated almost exclusively secondhand.  For those of you who decorate this way, you know what I'm talking about.  For those of you who don't, I thought I'd share an actual account of how much it cost us to furnish this room:


Did any of that surprise you?

We have a funny story in our family:  My son-in-law once asked my daughter while they were dating if she had ever been to a garage sale.  Unable to hold back her laughter, my daughter boasted proudly, "Why honey, I was raised poor, white trash!"  Well, whatever that means - and who really knows - she was raised to appreciate the value of a hard earned dollar enough not throw it away on only brand new things that depreciate in value the minute you take them out of the store.

I'll bet most of you reading this love to thrift, too.  I love your 2 cents and hope you'll share your thoughts and favorite treasure finds with the others stopping by the tub.

Ellie

Monday, January 14, 2013

Non-Sew Poufy Valance

Yesterday, I posted a room reveal on a very frou-frou bedroom. 

 
 To see the entire post, click here.

Today, I thought I'd show you just how easy it was to make the poufy valance, so that you can make one, too, if you like.  It really is super, super simple.

For starters, you will need to purchase fabric that is 2 1/2 to 3 times as long as the rod you wish to attach it to.  I would suggest looking for a fabric with some body to it.  This means is has a little stiffness and will hold its shape.  Bunch some up in your hand to see if it holds a nice shape, or just falls over limp.  I purchased this fabric off of the $1/yd table at Wal-Mart a couple of years ago.  

Now, I know there are proper ways of gathering and doing things, but Lavendears - don't you just want to make something and get it in place already?  That's how we really roll, isn't it?


With that in mind, you won't be too shocked when I tell you I got out some zip ties and just quickly attached the fabric to my rods.  I started by folding my fabric in half lengthwise, bunching it up there, and attaching it my rod.  Pull the zip tie tight, but not choking tight.  The most time consuming part of this project is fussing the fabric after you get it attached, so it is good if there is a tiny bit of give under the zip tie.


Next, I took each end of the length of fabric and attached it to the ends of the rods, folding it in on itself by about 3".  You don't want to see a raw edge at the end of your rod.


To complete the valance, I held up my rod and grabbed the fabric at the lowest part of the loop that hung from it.  I bunched the fabric at that point and attached it to the rod at the mid-point between the other two zip ties.  Repeat this pattern until you have attached all of your fabric in poufs the size you like.


Lavender Tub Tip:  When you are bunching the fabric in your hand, start at the side of the fabric at the point you plan to bunch and allow your hand to "chew" the fabric into it, rather than just grab it all at once.  It will help your gathers look much prettier.


And now FLUFF, FUSS, FUSS.
 

Now, wasn't that simple and the results stunning?  I thought some of you might like this project.

I want to hear your questions and congratulate your results, so please let me know!

Thanks for stopping by the tub,

Ellie

Parties I Will Be Linking To:

Sunday, January 13, 2013

1929 Maid's Room Reveal - From a Maid to A Princess

 It's hard for me to believe, but at one time the inhabitants of my house had a personal maid.  Not one who came to do housekeeping, but one who had her own quarters.


Oh, Anna, I'm such a fan.  How fun it would be to have you as our maid at The Lavender Tub!  Not because I want you to work for us, but because you are the kind of person I love to have as a friend.  Mary doesn't deserve you.  

 
Anna is one of the house maids on the PBS series Downton Abbey.

I hope you enjoy looking around as much as I'm enjoying sharing this room.  I think a princess could relax here......and a maid could feel like a princess.  Come take a peek.......


We have never had a maid except for a-hem, yours truly, but we've had lots of uses for this room.  It has been a great bedroom for each of our children at one time or another - plus a niece, but also a wonderful office.  The view from the second floor is of our backyard and is especially nice. 


It has been so much fun decking out one of our bedrooms in VERY girlie fluff again.  I really, really miss having my daughter here, maybe this makes up for it a tiny bit.  I can't wait until Princess Paisley is old enough to have sleepovers.


And this is one of the most popular features of my home (found in this room) to all the kids who have visited here over the years.  A Laundry Chute of all things.  I can't even tell you how many stuffed animals have been thrown to the basement with children running up and down two flights of stairs to retrieve the little creatures - just to throw them down again.

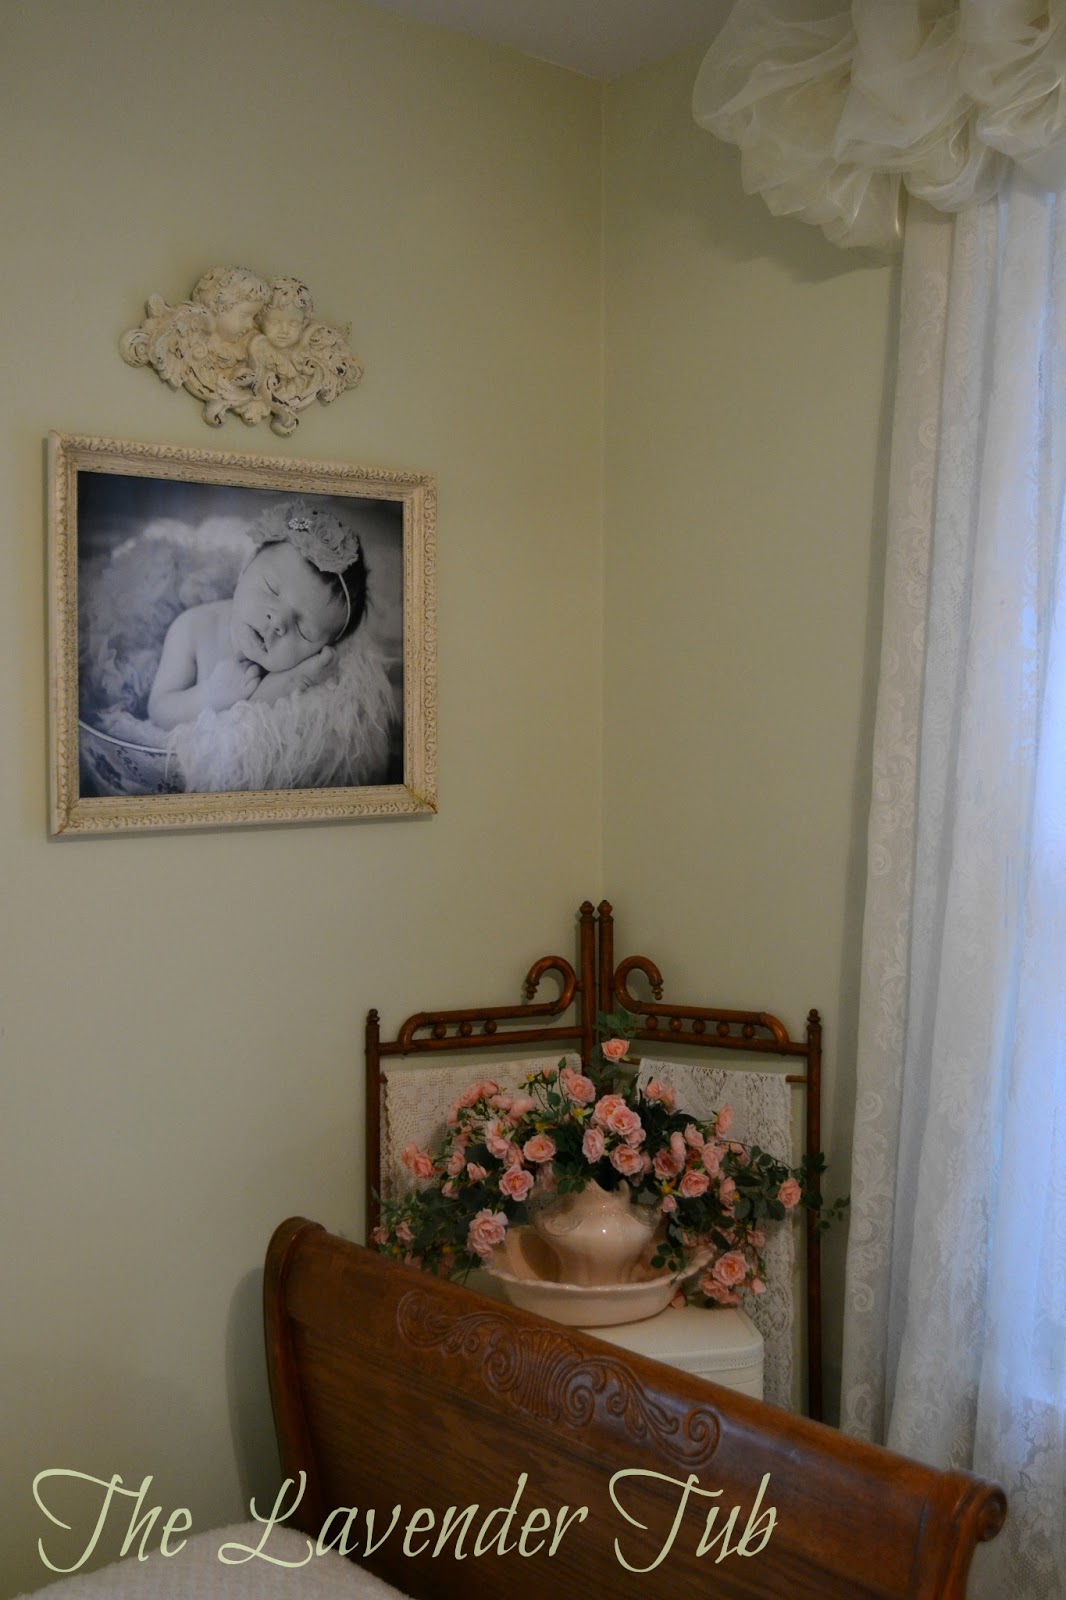
This is my Princess Paisley, 
or Paisley Poo as Grammie calls her.


Isn't this picture a mess?
She looks a bit like a Diva here, 
but she is a very sweet girl. 

Thanks for stopping by the tub,

Ellie 


Parties I Will Be Linking To: